How to Set Up a Printer
Setting up a new printer does not require technical knowledge. Most modern printers are designed to work quickly once they are properly connected and installed. You only need to prepare the device, connect it to your network, install the software, and run a test print.
Start by unboxing the printer and removing all protective tapes, packaging materials, and plastic covers. Place the printer on a flat surface near a power outlet and press the power button after connecting the cable. When the printer turns on, it usually begins an initial setup process on the display screen.
Next, open the cartridge access area and install the ink or toner cartridges in their correct color slots. Insert them gently until they fit securely, then close the cover. The printer may take a short time to align the cartridges automatically before continuing.
After that, load clean paper into the tray and adjust the paper guides so the sheets stay straight. Keeping the paper aligned helps prevent feeding issues while printing.
To allow wireless printing, connect the printer to your Wi-Fi network using the printer’s display panel. Open the network or wireless settings, choose your Wi-Fi name, and enter the password. Once the connection is successful, the printer becomes visible to nearby devices.
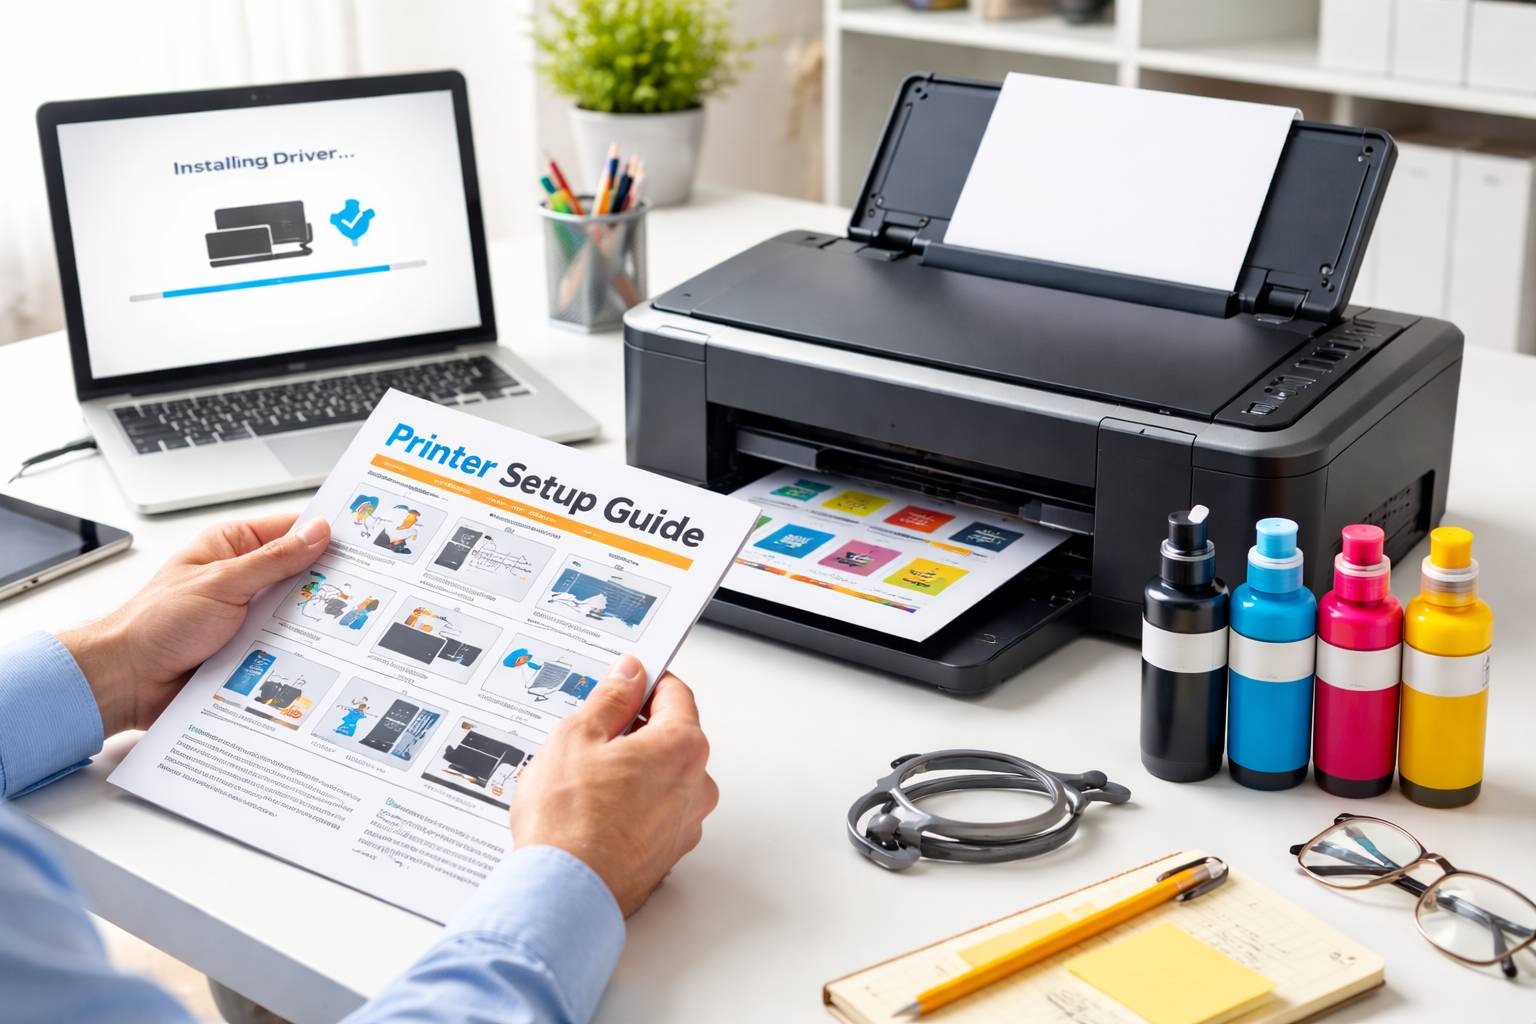
Now install the printer software on your computer. Visit the official website of your printer brand, search for your printer model, and download the latest driver or setup file. Run the installer and follow the instructions shown on the screen. The system will automatically detect the connected printer.
After installation, open your computer’s printer settings and add the printer if it does not appear automatically. When the device is listed, print a test page to confirm everything is working properly. This ensures the connection, alignment, and ink flow are correct.
Once the test page prints clearly, the printer is ready to use. You can now print documents and images from your computer, laptop, or mobile device whenever needed.